
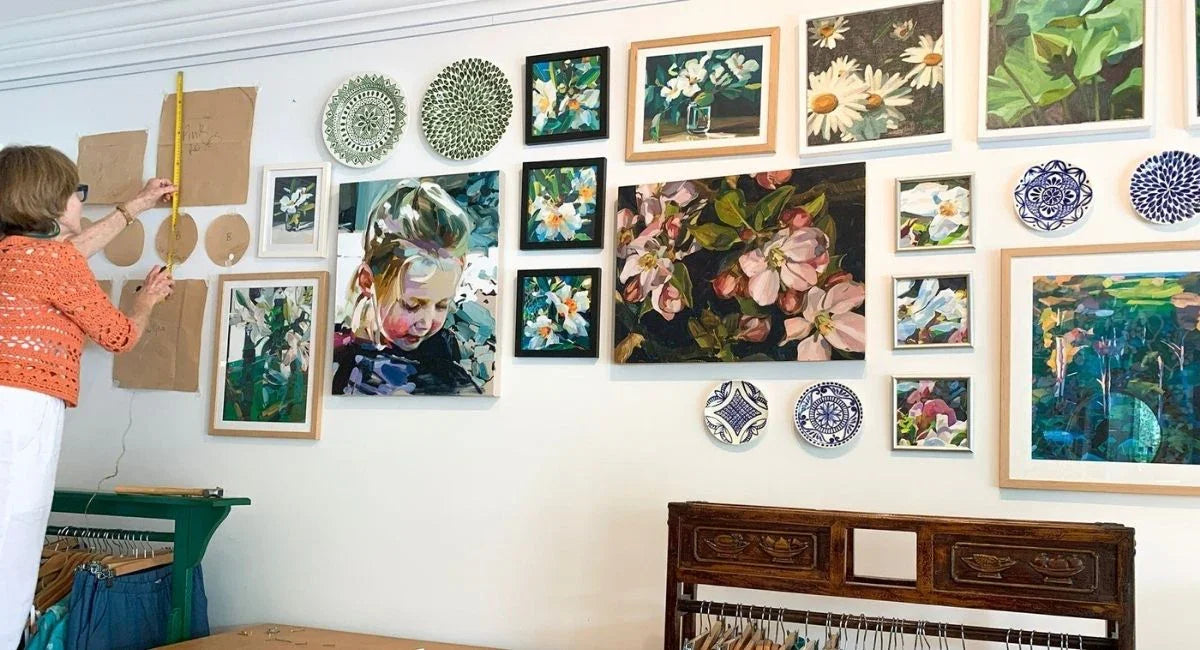
How to create a Salon Hang / Gallery Wall : Step by step guide

Follow along with Peta & I as we take you through the step by step process of creating a Salon-Style Gallery Wall.
If you’ve visited our Shop in Paddington, Brisbane, you’ll recognise our beautiful gallery wall full of artwork. This style of hanging art is called a Salon Hang or a Gallery Wall. It's characterised by filling a wall with a mixture of artwork with various shapes, sizes and frame styles to create a unique and harmonious story. It's the perfect way to add detail to your interiors and showcase photos or holiday mementos alongside paintings and prints.

STEP 1
Collect all of pieces you want to hang and lay them out on the floor (bare in mind: you will likely need more than you anticipate). The more eclectic the better! Include as many different shapes and sizes, frame colours/styles, art mediums and subjects as you can. If you haven’t got all of the pieces on hand (as was the case for us), cut out brown paper place holders to scale to use in the next step.
TIPS
- Salon-Style Gallery Walls can include more than just paintings. Add texture and interest by incorporating plates, masks, mirrors, tapestries or wood blocks.

STEP 2
Measure the height and width of the wall where your collection will hang and map out the dimensions on the floor. Now, here is the tricky/fun part. Arrange the various pieces like a puzzle, aiming to keep the spaces between each item uniform. Photograph your arrangements to compare along the way until you choose your favourite composition.

TIPS
- Use repetition. Our brain likes repetition – it’s predictable which feels safe. So, add a line of plates or a triptych of prints.
- Create balance by spacing out your largest artworks and fill the spaces in between with smaller pieces.
- Stagger your pieces so that the lines of space are interrupted. Straight lines and uniformity look too much like a checkerboard.
- You don’t have to fill the entire space right up to the corners.
NOTE: If you have any particularly heavy paintings you may need to line them up with a stud for secure hanging. The rest of the composition will have to work around them.

STEP 3
Cut out a brown paper template for each piece and label them. Measure the distance from the top to the hanging wire: Make sure you pull the string upwards in the centre to get an accurate measurement. Transfer that measurement to your paper template to mark where the nail/hook will go. Fold the paper template in half to find the centre and measure down from the top: make a mark for the nail/hook.

STEP 4
Use the photo of your composition as reference to stick the paper place holders onto the wall with masking tape. Make sure they are all facing the right way up and that you can see the nail marker.

STEP 5
When you’re happy with how it looks on the wall you can hammer in the nails! If you are using actual nails like we are you can hammer them in directly on top of the mark. If you are using a hook then line up the bottom of the hook with the mark before hammering in the nail. You don’t need to remove the paper – simply hammer directly on top and then tear away the paper afterwards.

TIPS
- When hanging a vertical row of paintings use a weighted string to check that the nail markers are all in line. This ensures that your paintings will hang in a perfect line, even if the wall is not completely square.


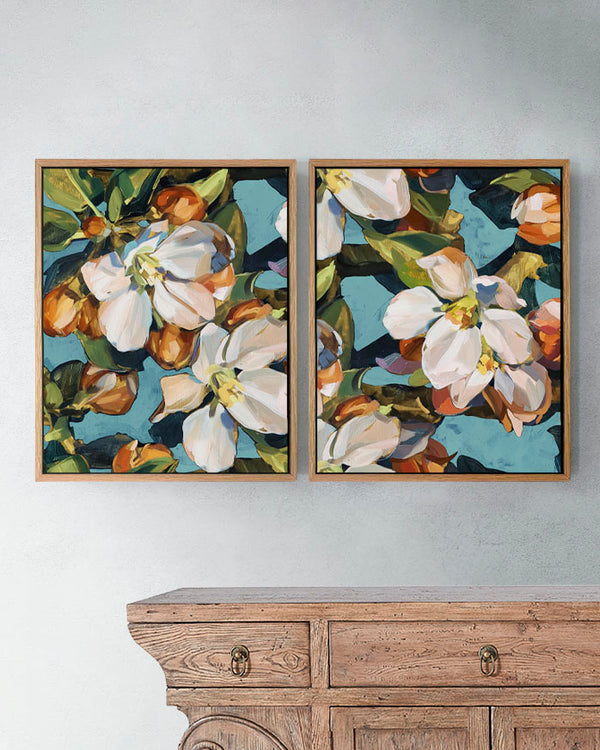
Blossom Aqua Fine Art Print on Canvas - Rectangular Duo - Fresh Floral Wall Art | Bowerbird Collections
$380.00
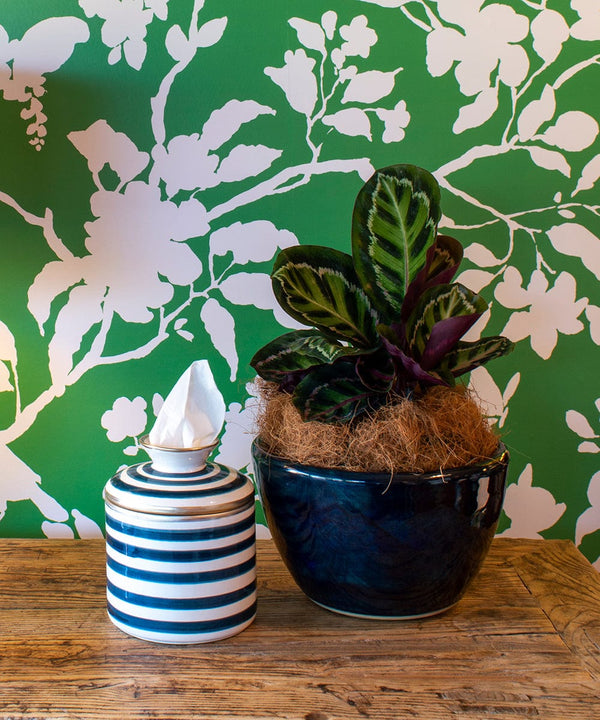
Chinoiserie Cutout Wallpaper – Elegant Botanical Mural | Bowerbird Collections
$325.00
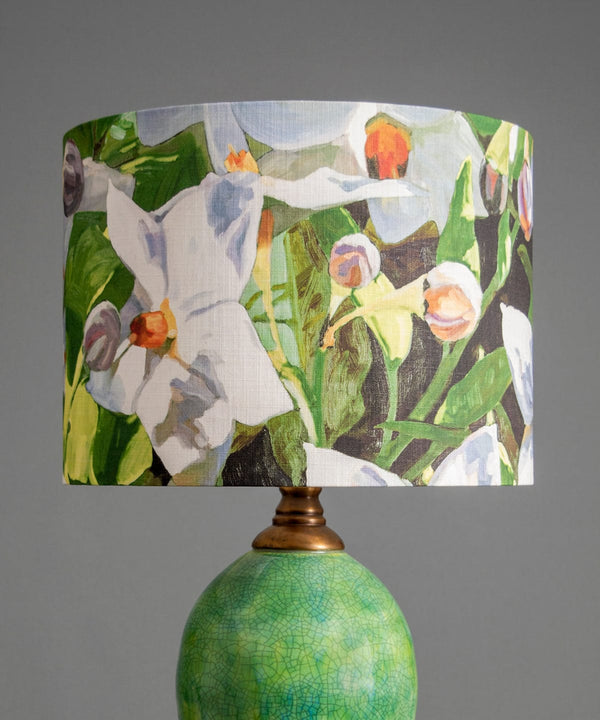
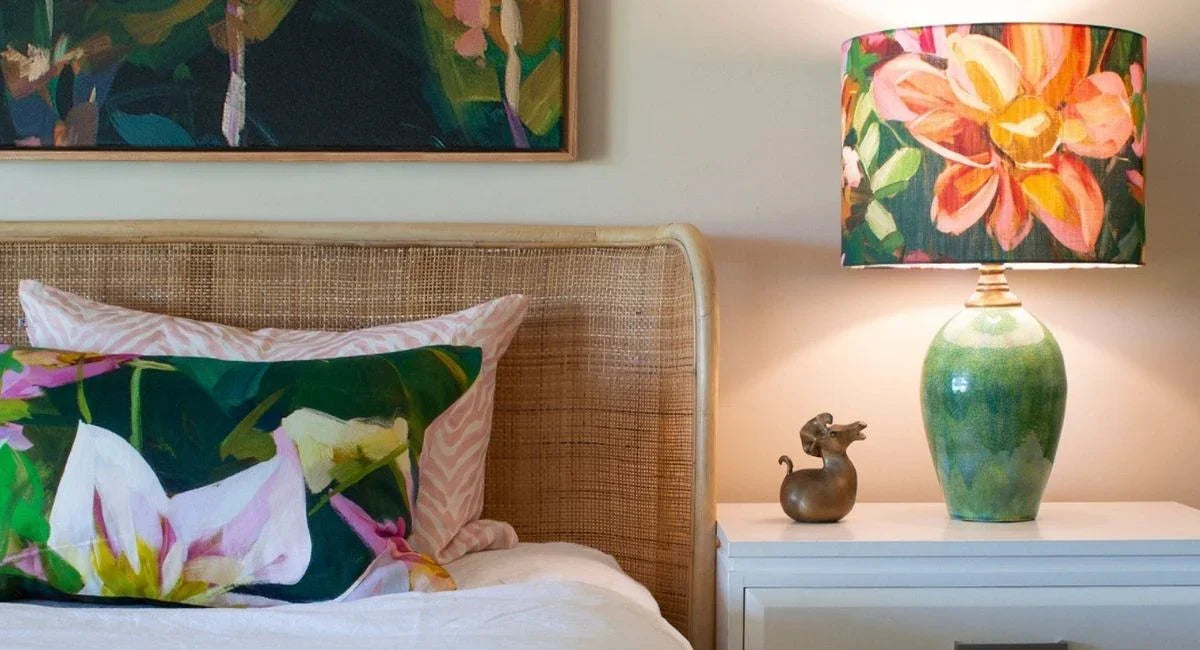
Amira Olive Lampshade – Handcrafted Lighting | Bowerbird Collections
$280.00

Blossom Navy Fabric – Classic Blue Floral Linen & Velvet | Bowerbird Collections
$190.00

Blossom Navy Pillow Cover – 100% Linen | Bowerbird Collections
$119.00
